A tweet little mug

I am the proud owner of possibly the world’s most expensive mug. But I’m very pleased with it, so it was totally worth it. That’s what I keep telling myself. This design was inspired by a very beautiful card I received for my 25th birthday.

I started out by drawing the outline onto the mug in pencil, which gets burnt off in the kiln.

Next, I painted the background. I think it would have looked nicer to sponge it- this would have given a more even pattern. But then the other colours would have been messed up if they’d gone over blue. It proves it’s handmade!

I then used my friend meandjd’s dotting tool to add polkadots.

The next step was the first coat of colour on each bird.

Next, I added detail to the first coat of paint. I used the same colour, which is meant to add depth of colour (though this didn’t come out quite as well as I’d hoped once fired).
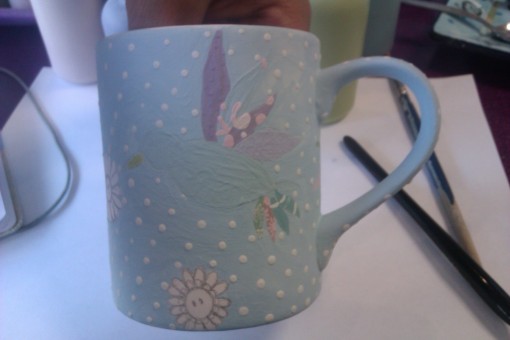
My next step was to paint the flowers, which are based on the Mario fire flowers I had as a bouquet for my friend’s wedding. I also added outlines to the birds, mainly to cover any messy overlap between the colours. Lucky meandjd had a really fine brush!

I added a few more details and then, about eight hours later, it was time to turn my precious mug over to the professionals for firing.

I always add a little something to the back of my painted ceramics.


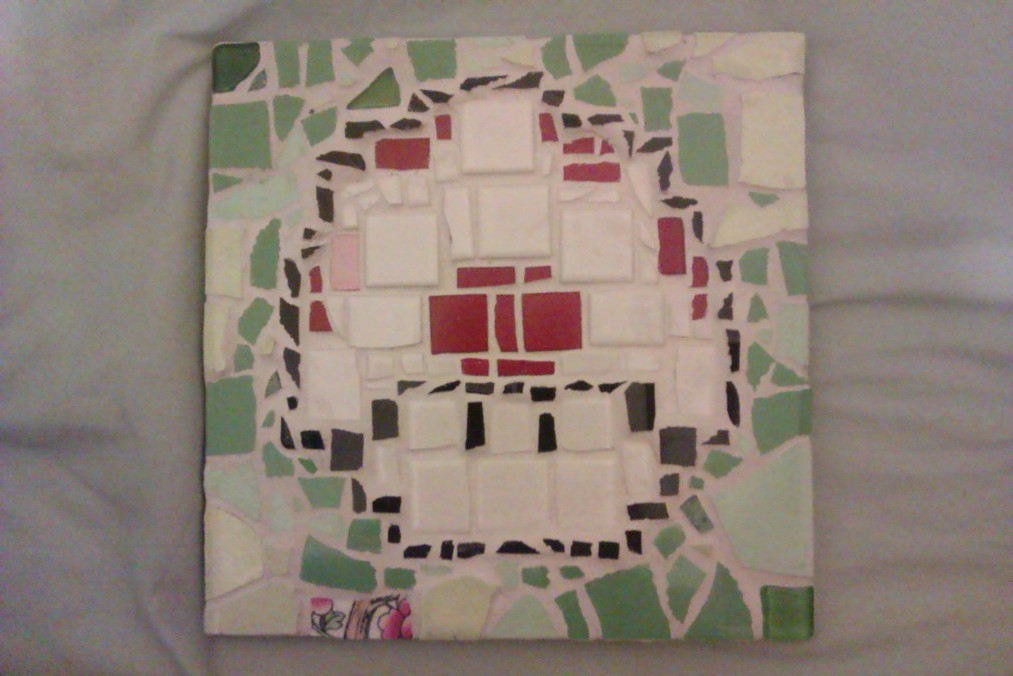
Mariosaic

I’m posting about this as I think it’s interesting even though my sense of perfectionism/harsh superego (shout out to any psychoanalytically oriented readers!) nearly prohibits it. Recently, some friends and I went to a mosaic-making workshop. For somewhat obscure reasons, I decided on a Mario theme and chose the exact design based on the tiles available. Here’s my rather rough-around-the-edges finished productHere’s how this wonderful effect was achieved.Image

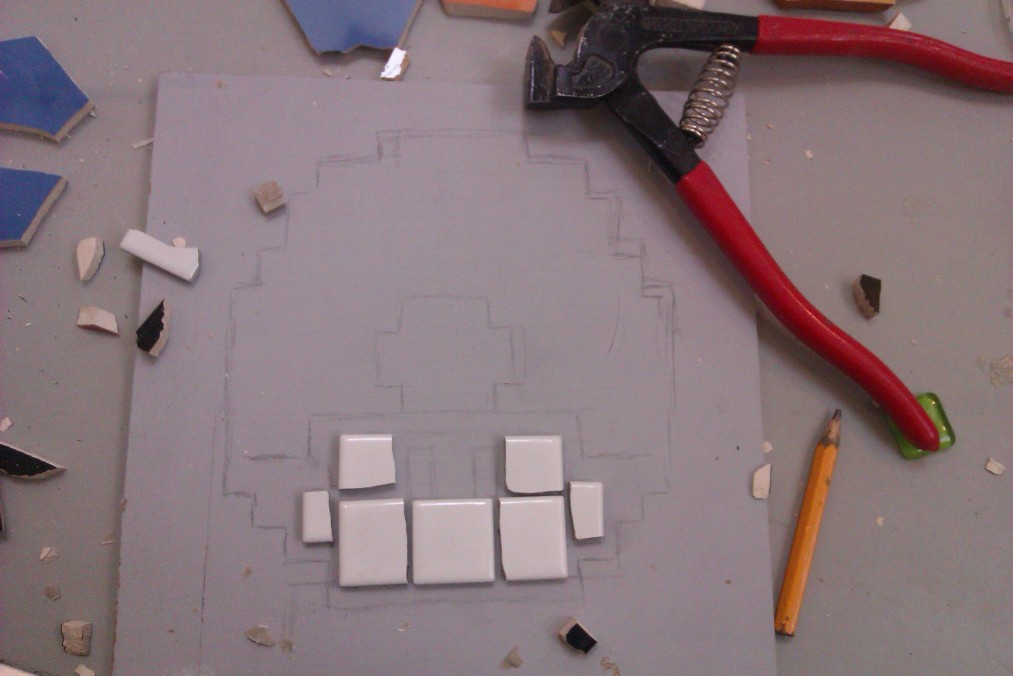
Step 1: The highly technical drawingsImage

I laid the tiles down to check that dimensions were okay. The baseboard is just an old piece of MDF.

Step 2: Cut tiles into fragments and glue down with PVAImageImage

Step 3: High and dry

Leave your board to dry for at least an hour, so that the pieces of tile will stay solid when you start grouting. Looking back at this picture, I wish I’d used a darker colour of grout. Oh well, it’s all learning for next time.

Step 4: I’m a mosaic, get me grout of here!

Mix up your grout with water to approximately the consistency of toothpaste and then get messy. Smear it all over the place, using either a proper tool or an old credit card to work it down into all the gaps.ImageLeave for about 10 minutes until it begins to dry, while you prepare a bowl of warm water and a sponge.

Step 4: Clean it up

Gently clean the grout from the surface of the tiles with your clean sponge, rinsing frequently. You’re just wiping off the surface, trying to keep all of the grout between the tiles level. This step takes ages, but you should be left with something like this.Image

Step 5: Polish

Just polish it up with a clean t-shirt and voila!