Hello!
I have moved to http://www.craftycrusader.wordpress.com . I hope you’ll check it out.
Crafty love!
The continuing adventures of a crafty crusader
Hello!
I have moved to http://www.craftycrusader.wordpress.com . I hope you’ll check it out.
Crafty love!
Posted in Uncategorized
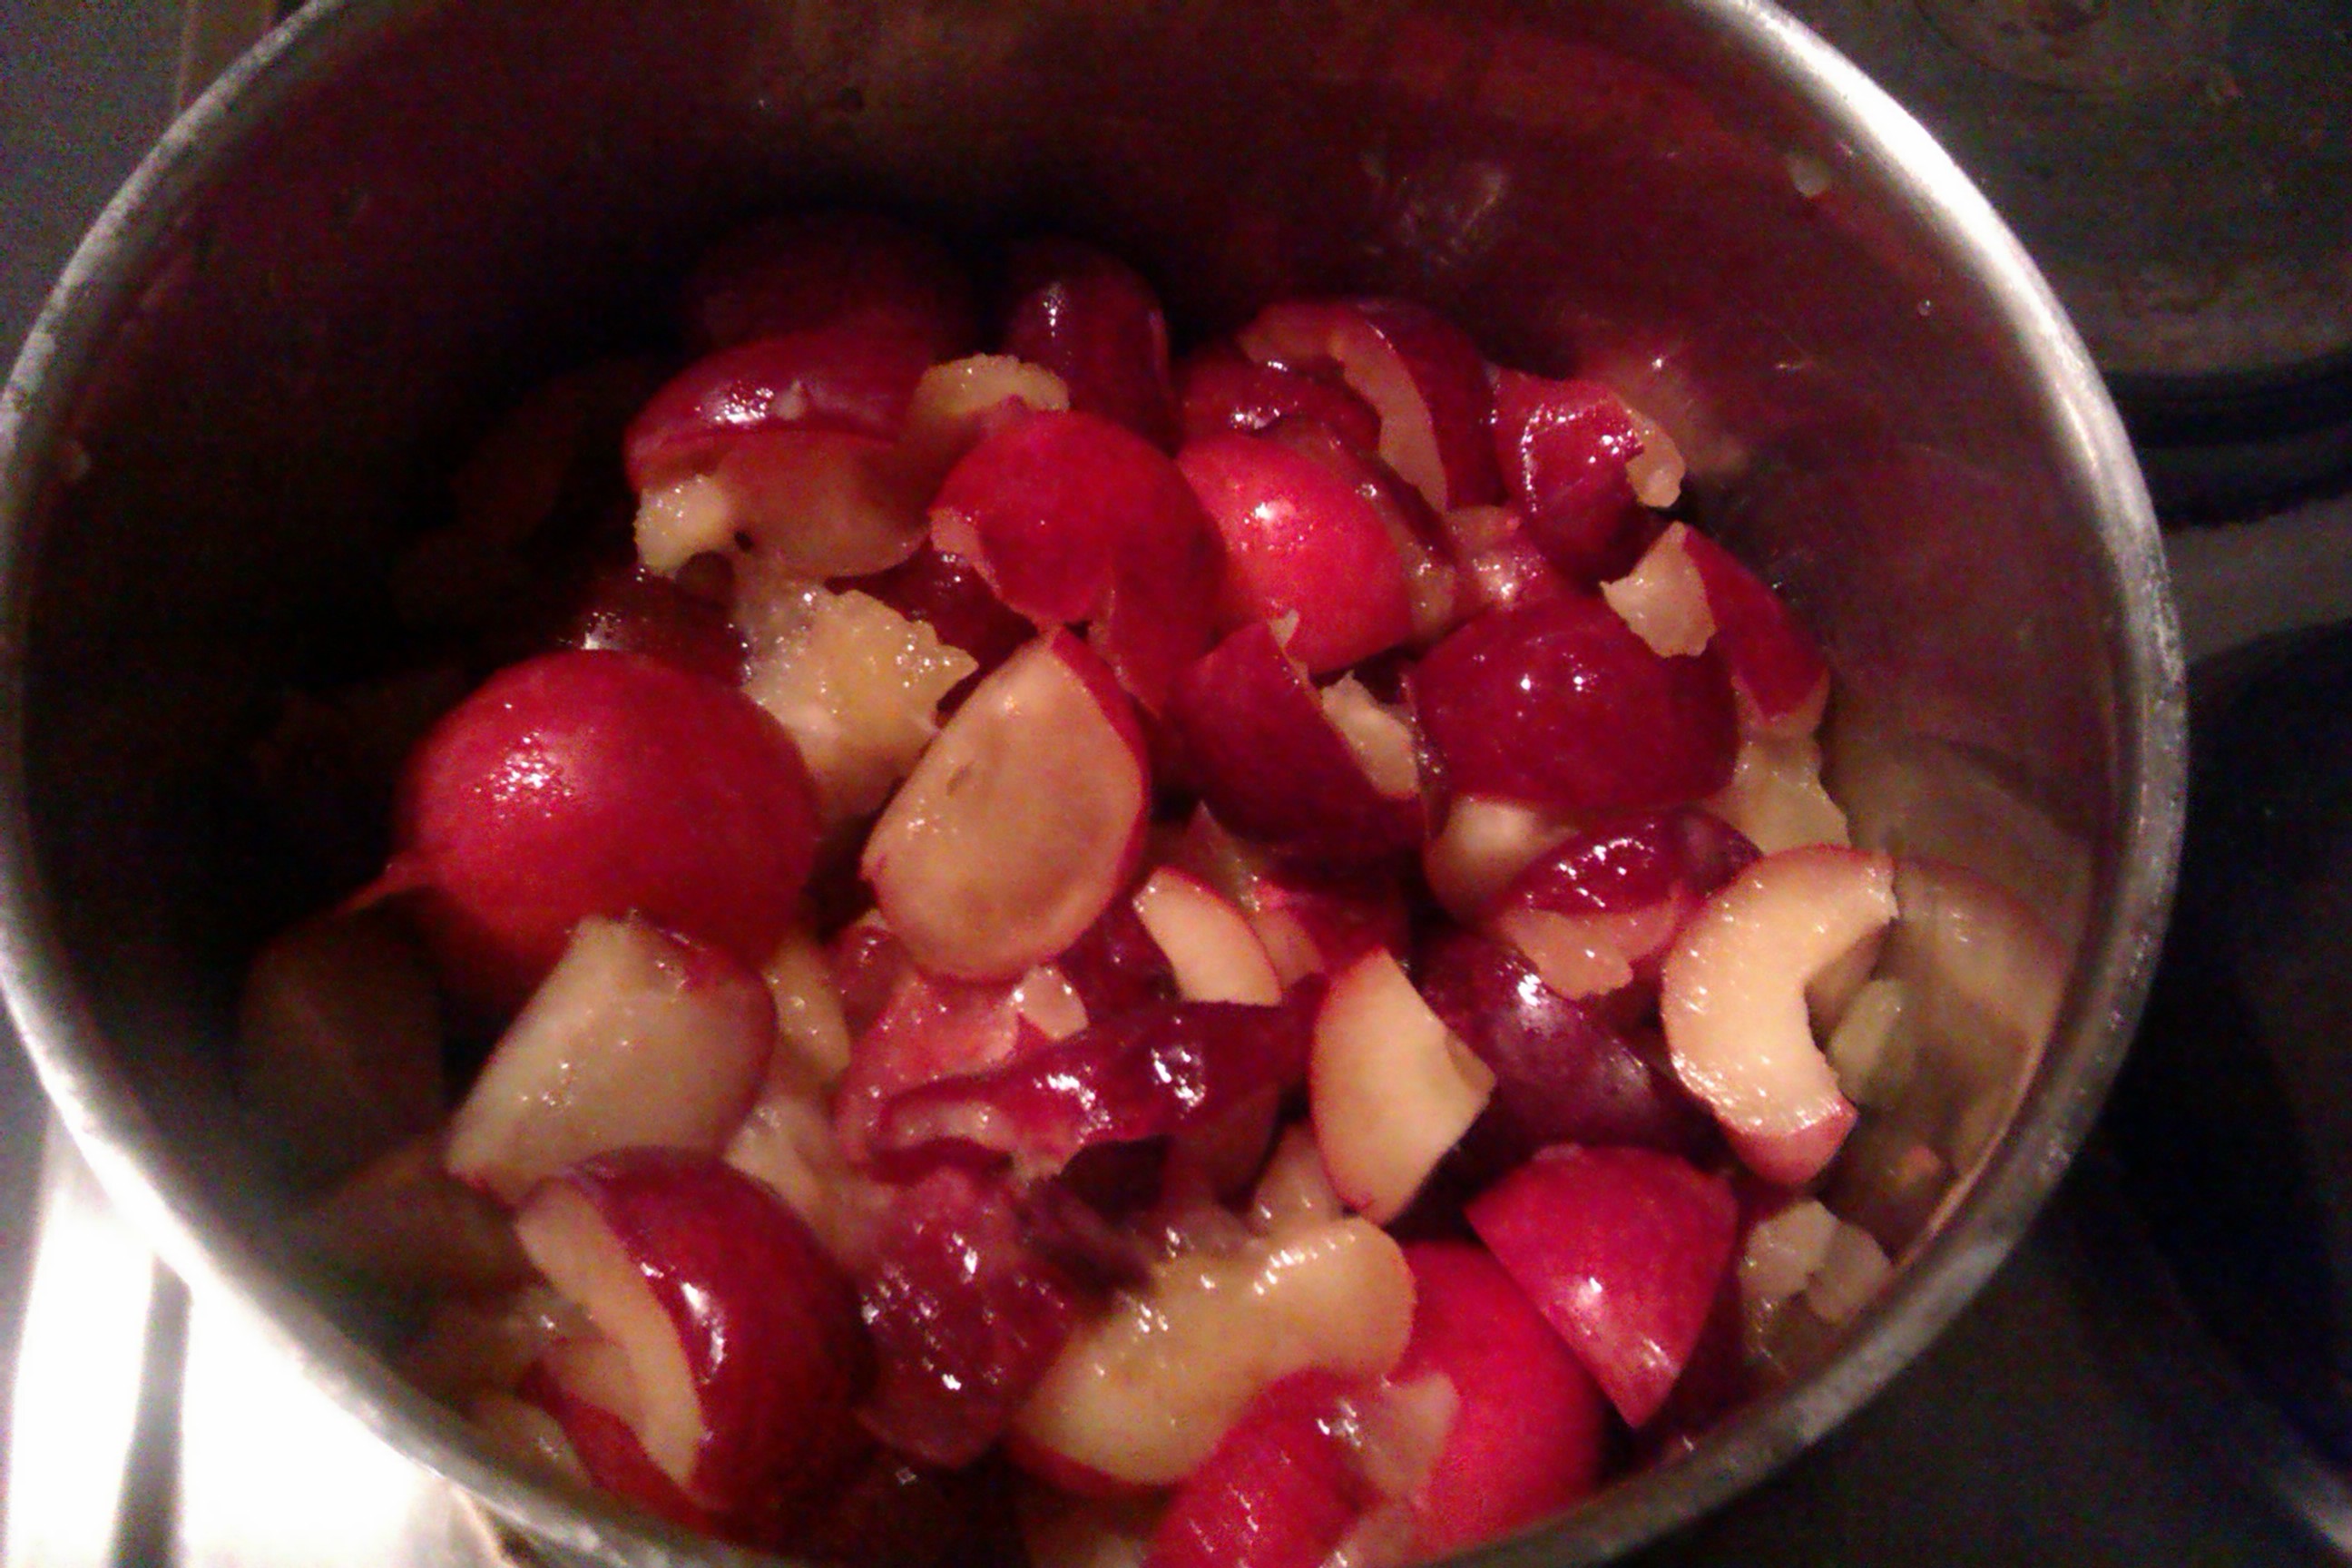
I’ve been intending to get into jam for ages. Like, five years. In fact, I bought some pectin about that long ago in preparation for my jammy exploits. Until I saw the prohibitive price of fruit. Last year, a friend and I went on a great spread-making workshop that reignited the passion that had lain dormant for long ago. And then on Tuesday night I spotted some bargain fruit at the supermarket. The time (and plum harvest) was ripe. And here are the fruits of my labour (pun totally intended.)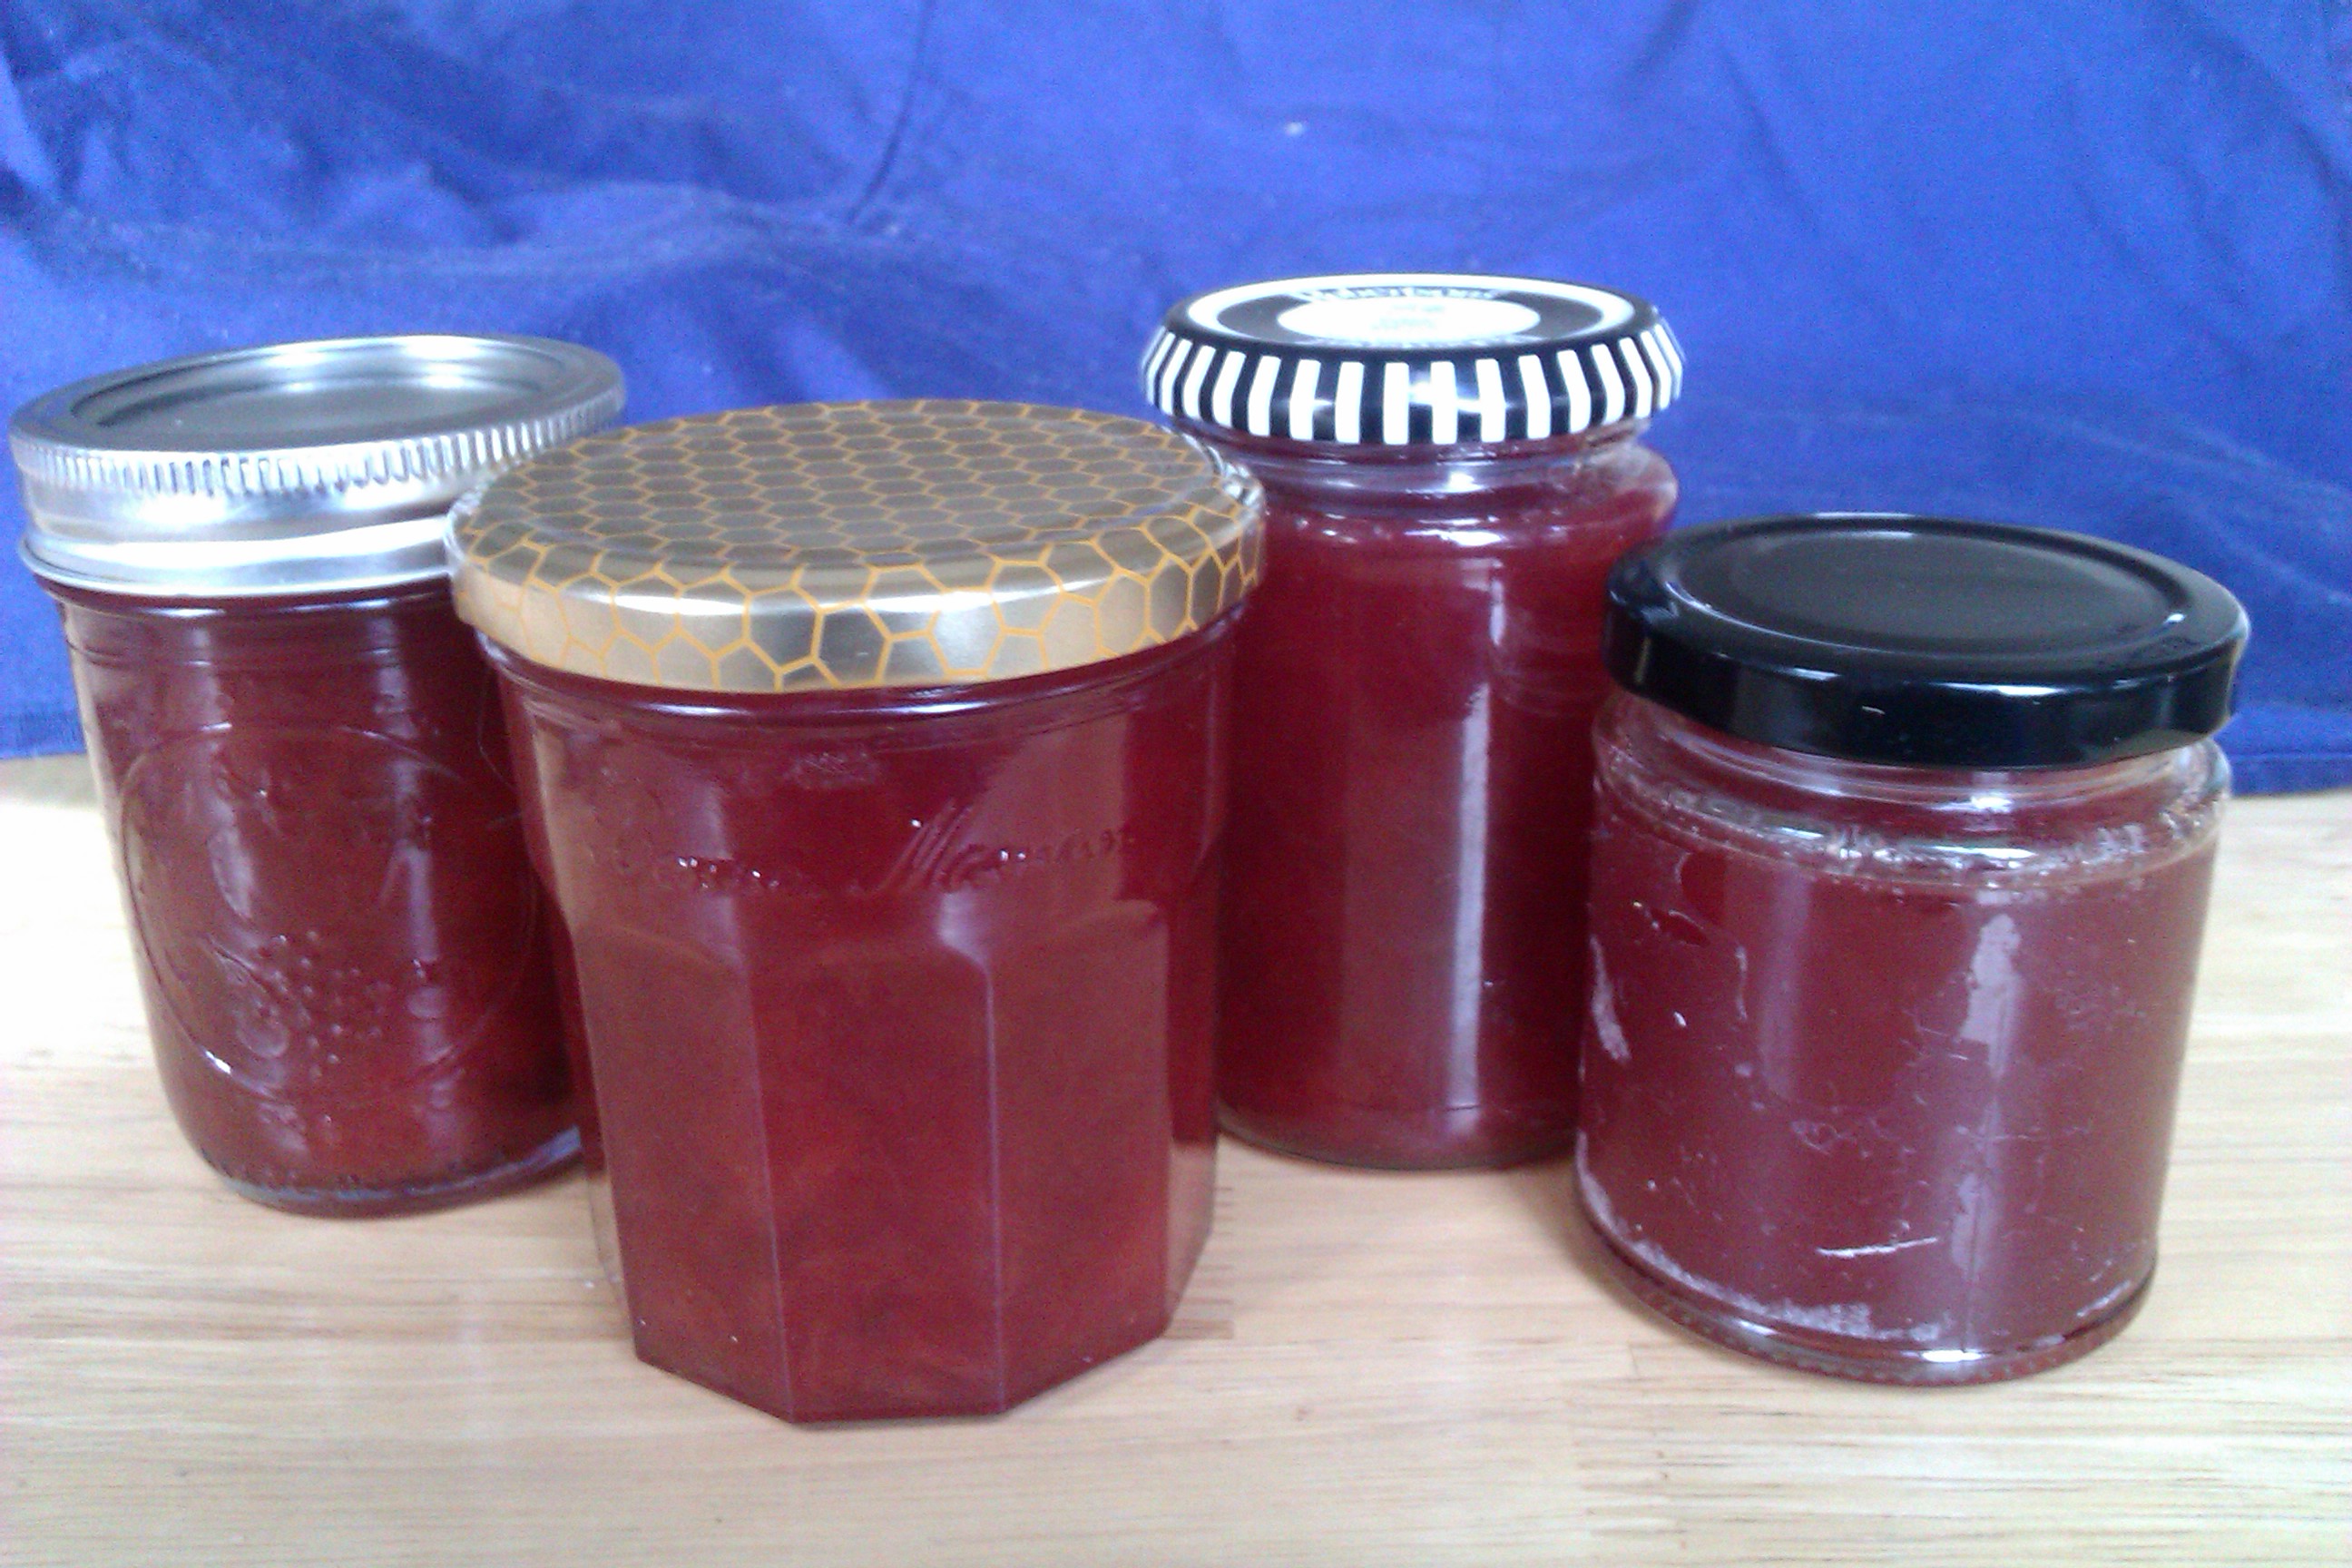
I’ll be giving most of this away. Much as I enjoy jam, it would take me at least a year to get through this, plus the plastic container of jam I put in the fridge as I hadn’t sterilised enough jars. This jam is sweet but still with an edge of tartness and a strong, warming hit of spice. I tasted it a few times throughout to monitor this (and because that’s just what I do, okay?)
Ingredients:
This makes about four 340g jars, plus one 200g jar.
Feel free to experiment with spices. I reckon some grated root ginger (or, indeed, powder) would be lovely in this. Star anise also adds an Asian hum. Make sure you count how many cloves etc you put in so you can pick them all out at the end. No one likes crunchy bits in their jam.
Equipment
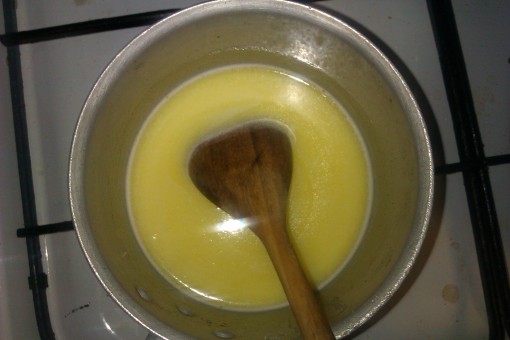
Method


If you’re a sad sack like me, you’ll also want to waste some time designing labels for your jars. It’s wise to label them with the date so they don’t get confused with any other mysterious jars cluttering up your cupboards.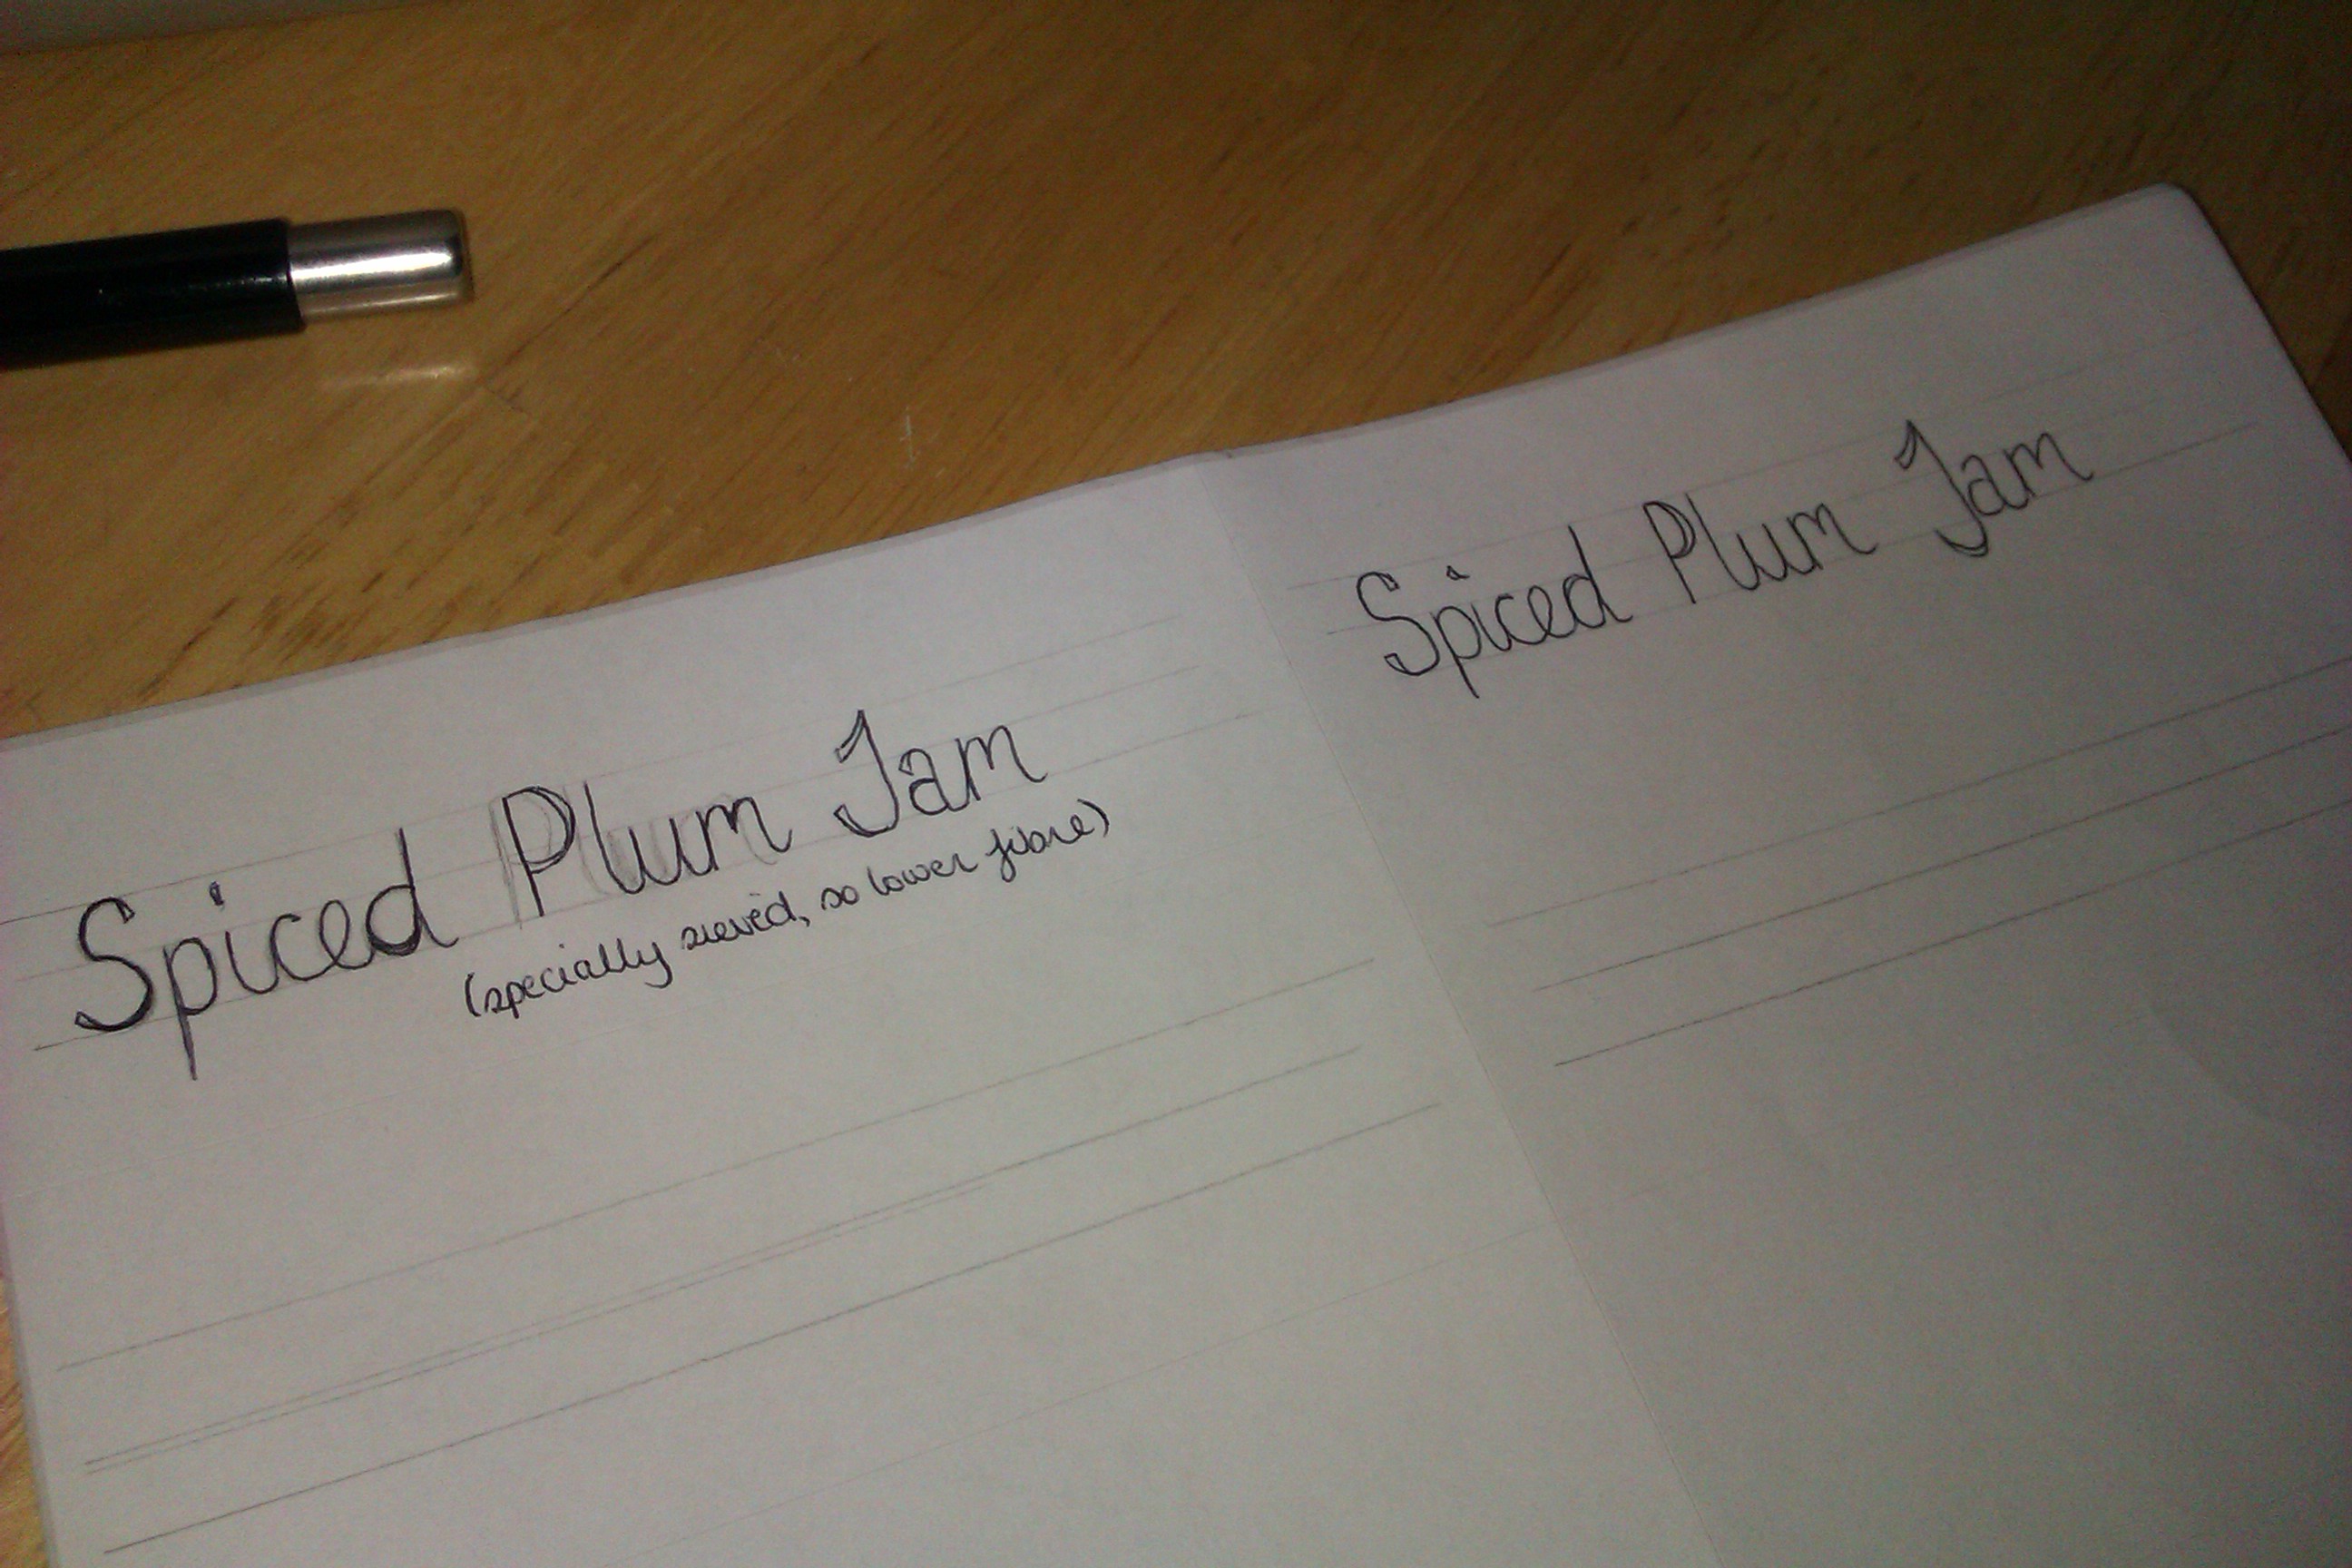
But I think they add a little something to the handmade charm.
I was a busy baking bee last weekend. During a stressful period in 2012, I got a bit obsessed with the idea of rolled and iced sugar cookies even though I’d never tried to make them. My obsession was such that I spent a rather obscene amount on all the equipment- squeeze bottles, piping bag couplers, nozzles, cookie slats… the works. And I made cookies exactly once that year. These, to be precise
Unfortunately, it’s very difficult to make royal icing if you aren’t lucky enough to possess a stand mixer. I made this with an hand blender and while it looks okay, the icing really only stays shiny and brightly coloured for a day. After this, the cookies still look nice, but they lose their sheen and the colours mellow. I wouldn’t allow this to put me off using royal icing, I’ll just keep dreaming of the day that I become the proud owner of a stand mixer.
Anyway, enough yacking from me. This technique is adapted from Cookie Craft, which is an excellent book for anyone who wants to get into iced sugar cookies.
Makes approx. 40 small cookies
Ingredients:
For the royal icing:
Special equipment
You can get by without any of this guff, but it’ll make life an awful lot easier if you plan to make cookies more than once.
Method


This bread is bloomin’ lovely, packed with lovely oats and with a gorgeous honey flavour. So far, it’s stayed really nice for three days, with a moist and smooth texture. I’ve been having it just with butter for lunch and it’s making me very happy indeed.
This recipe makes 2 9×5″ loaves.

Ingredients
Method


UPDATE: The dough freezes very well. Leave it in the fridge overnight to defrost, then shape into a loaf and leave for the second prove. Leave it for about double the time you normally would, i.e. about two hours and then bake as above. I remembered the seeds this time and they add to the texture really nicely. I’ve been eating this for lunch with just butter. It stays lovely for about three days, then is better toasted after that.
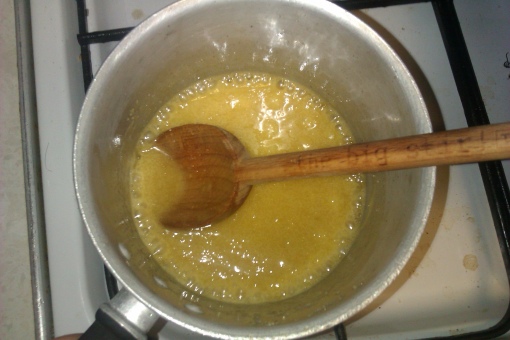
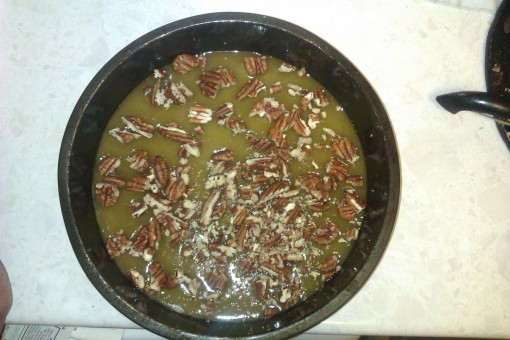
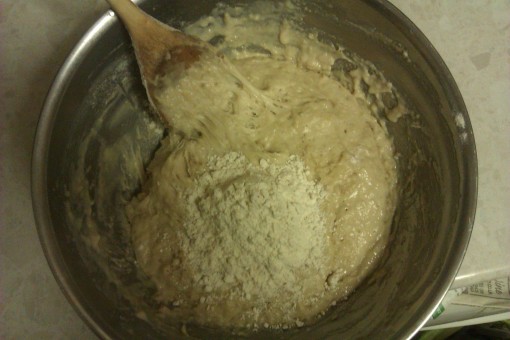
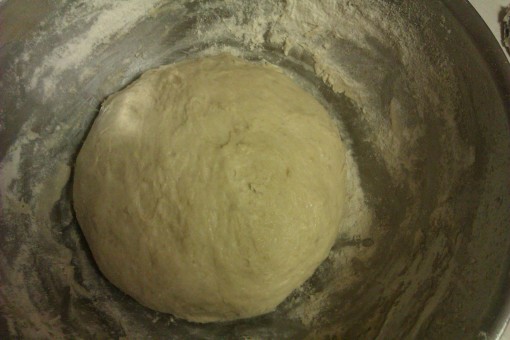
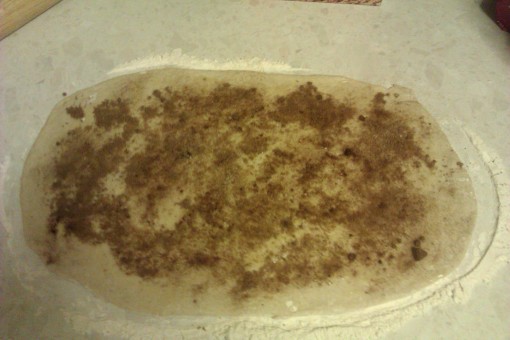
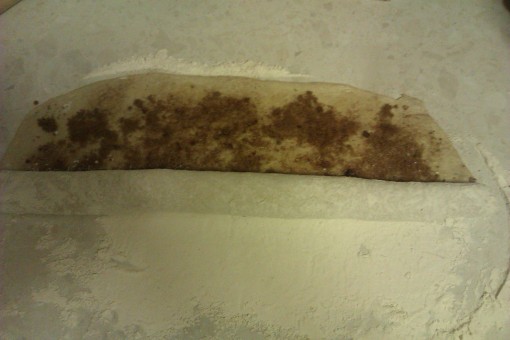
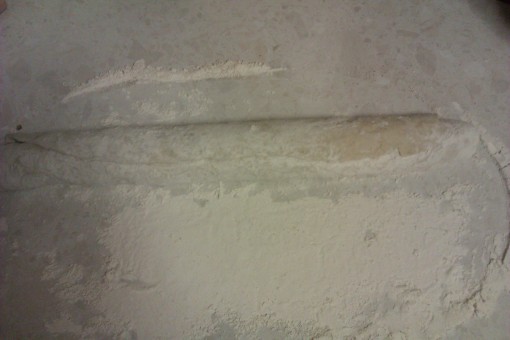
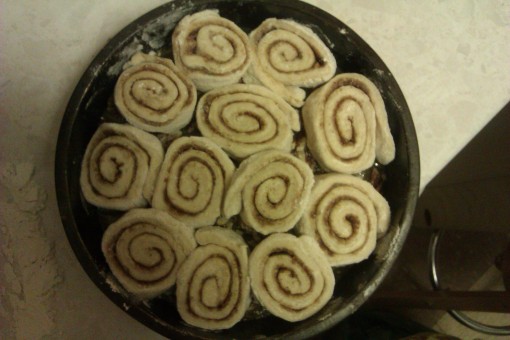
Have you ever had a Cinnabon? If not, you haven’t lived. It’s the perfect combination of fluffy bread, cinnamon sugar and gooey, nutty sauce. A heart-attack on a plate and totally worth it. My version is no healthier, but at least you know what’s in them. These would make an incredibly decadent breakfast with a tall glass of milk and MUST be eaten warm.

Yum. This recipe serves 6-10 people, and you can leave the unbaked rolls in the fridge overnight so that they can be popped in the oven in the morning.
Ingredients:
For the filling
For the ooey gooey pecan sauce
Method


Posted in Baking
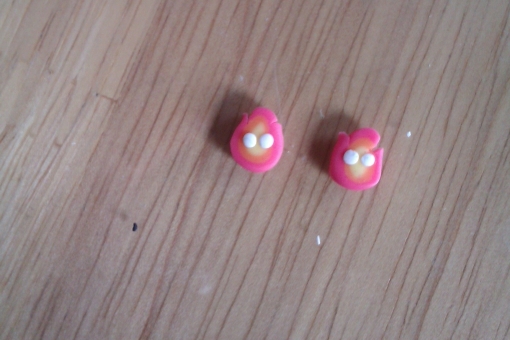
I made these little studs as part of a festive craft swap with two schoolfriends. The other item was my Up cross stitch. The brief was that the items were to be tiny and based on a list of our top ten films that we sent each other. In case you’re not familiar with Howl’s Moving Castle, here’s a picture of Calcifer. 
Here’s a pic to show the size of these things. They’re tiny! 
You will need:
How:


Posted in Crafting
Now I can’t take much credit for designing this as I found some very similar images online as inspiration. But I think it has a bit of everything- balloons, a house and it’s absolutely minuscule. Also, it’ll only take you a couple of hours to put together, so this cross-stitch would make a great present.

You will need:
Note: With aida, the higher the count, the smaller the squares as the number corresponds to the number of holes per inch. You could make this bigger by just using different aida and the doubling up the strands of embroidery thread you use.
Work with a single strand of thread if you are using 22-count aida.


Posted in Cross stitch
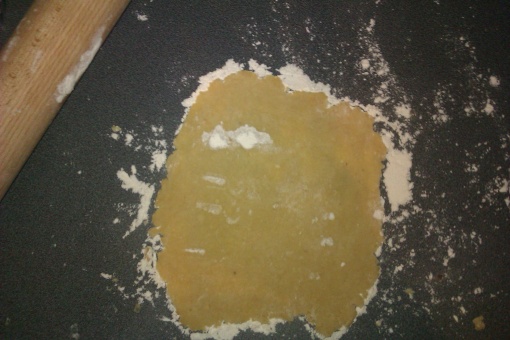
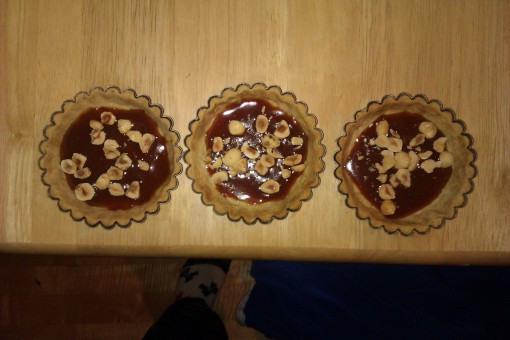
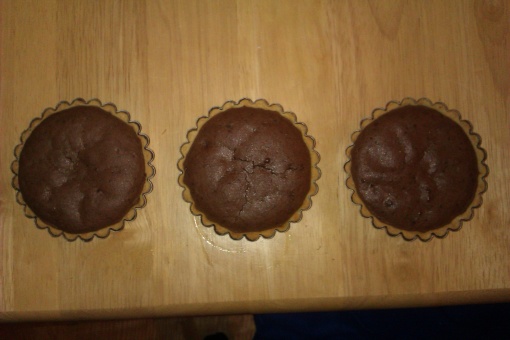
Salted caramel and chocolate tart is basically my favourite dessert. Like, ever. And I bloody love desserts. I’m totes a connoisseur. Anyway, this is my first attempt at this delicious treat. I decided to go for tartlets as I’m trying to avoid death by butter. These are pretty amazing, but I’m still searching for my perfect recipe. This will make one 20cm tart or ten 8cm tartlets.
Ingredients
For the sweet hazelnut pastry
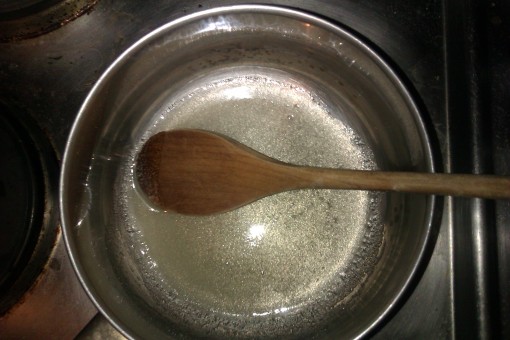
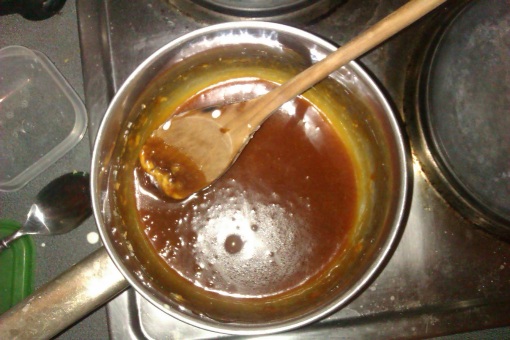
For the salted caramel
For the chocolate filling
Method


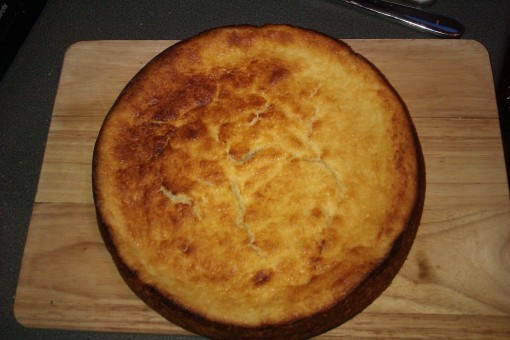
At this festive time, a little lemon can help cut through all the rich food of the season. I added ricotta to ensure that it wasn’t too virtuous. It is the season, after all. This cake is dense, with a texture quite similar to ricotta. It keeps well.
Ingredients:
Method:


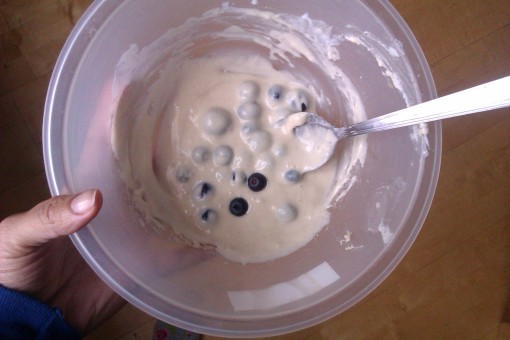
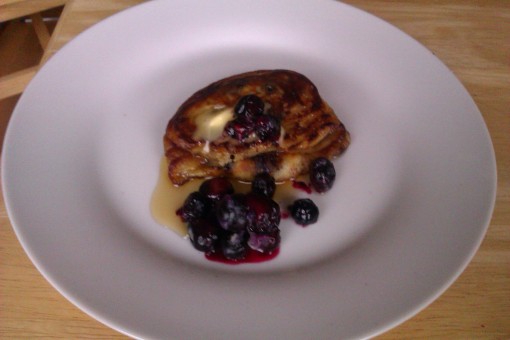
Quite a few cake recipes these days call for buttermilk, a foodstuff that I have never used in anything else. A quick internet search and I decided to give these buttermilk pancakes a go. They’re very nice, I would recommend them for a quick and not-too-unhealthy weekend breakfast. I quartered the recipe as I only had 1/4cup of buttermilk left over.
Ingredients:
Method:

Posted in Cooking
